Scheduling a workflow
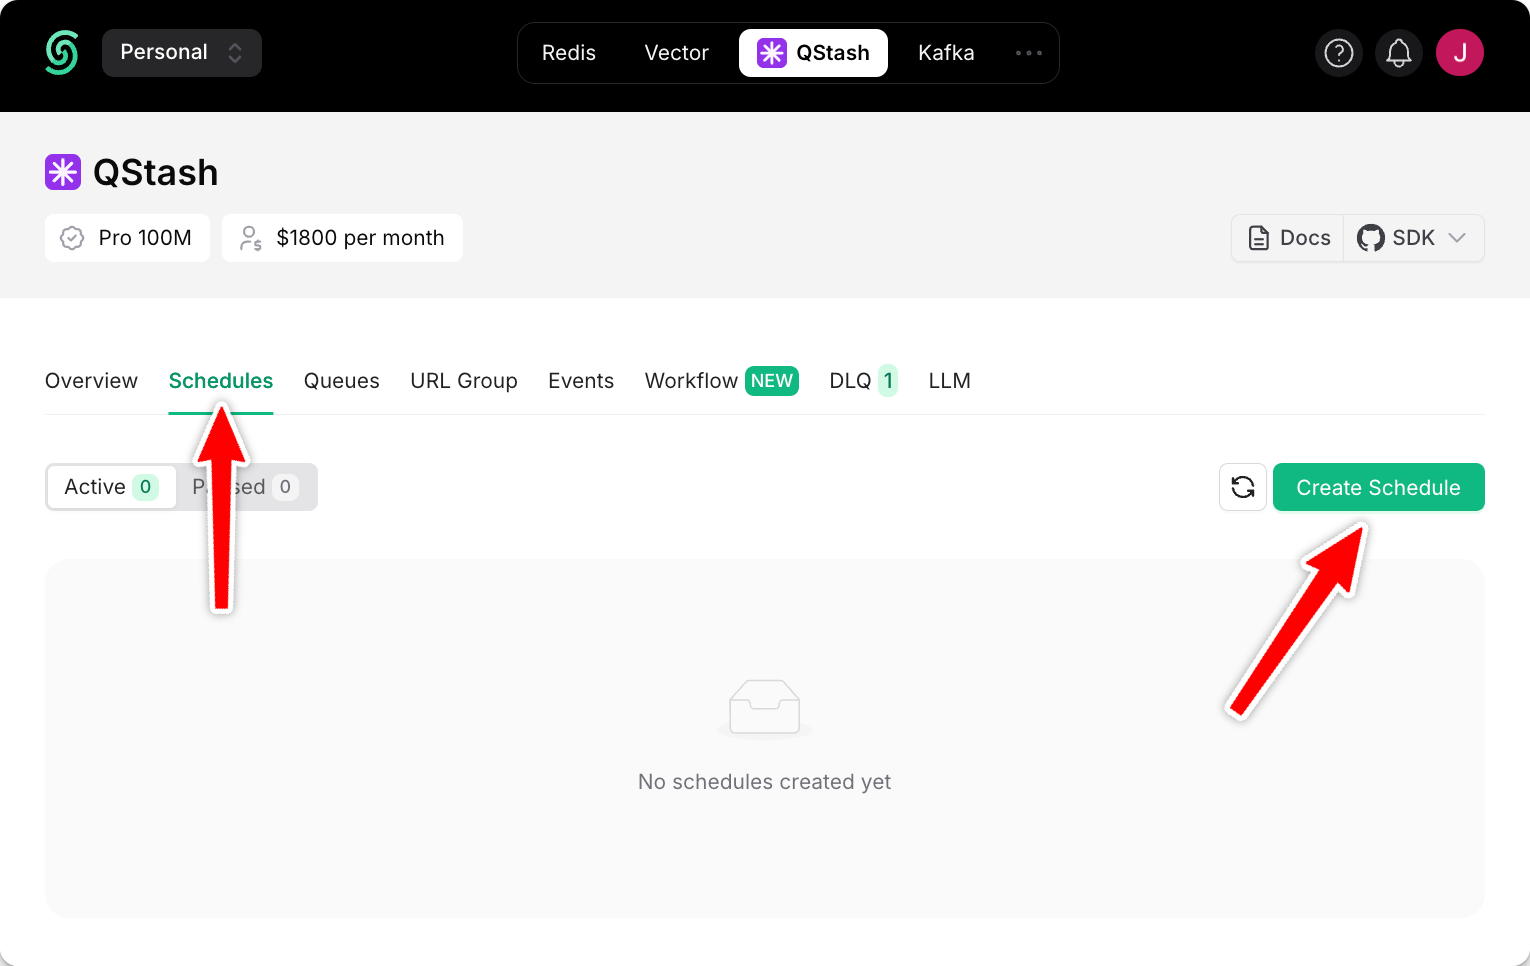
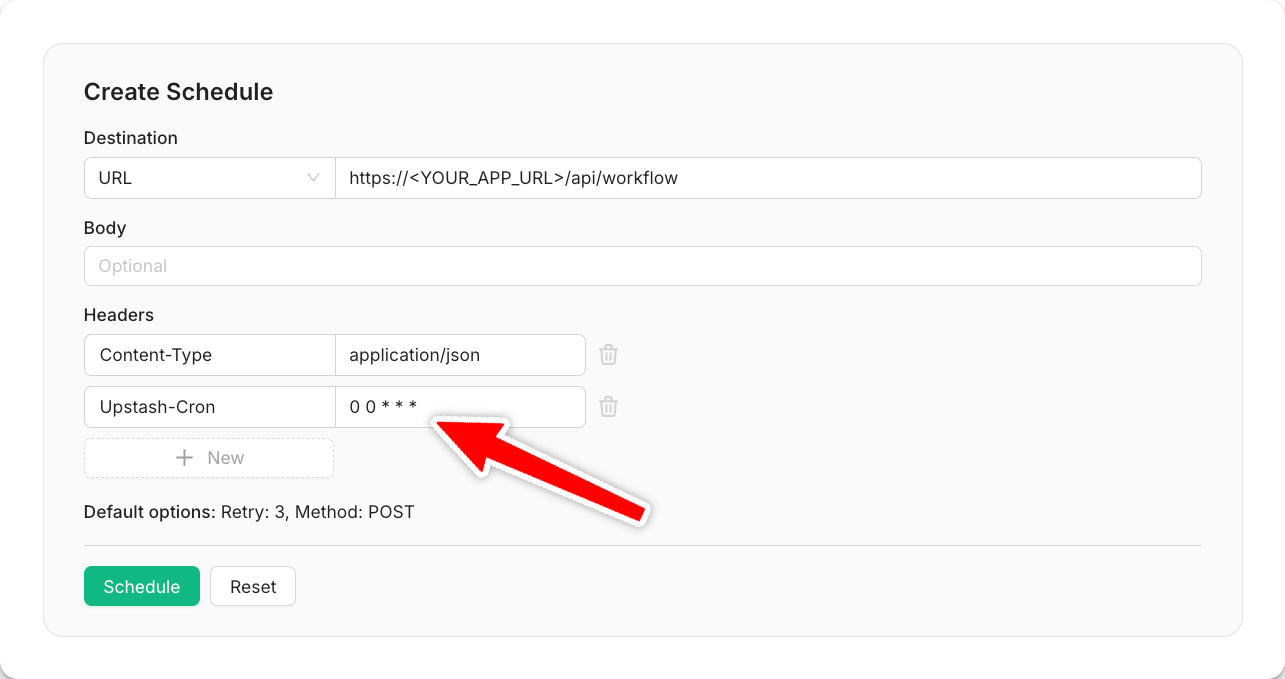
For example, let’s suppose that you have a workflow that creates a backup of some important data daily. Our workflow endpoint might look like this: To run this endpoint on a schedule, navigate toSchedules in your QStash dashboard and click Create Schedule:
Schedule:
Programmatically Schedule
In order to massively improve the user experience, many applications send weekly summary reports to their users. These could be weekly analytics summaries or SEO statistics to keep users engaged with the platform. Let’s create a user-specific schedule, sending a first report to each user exactly 7 days after they signed up:When creating a per-user schedule, pass a unique
scheduleId to identify the schedule for better management and observability.